Follow Me On Social Media!
KitchenAid Bread Recipe: Easy, Fresh Bread Made at Home
Introduction to KitchenAid Bread Recipe
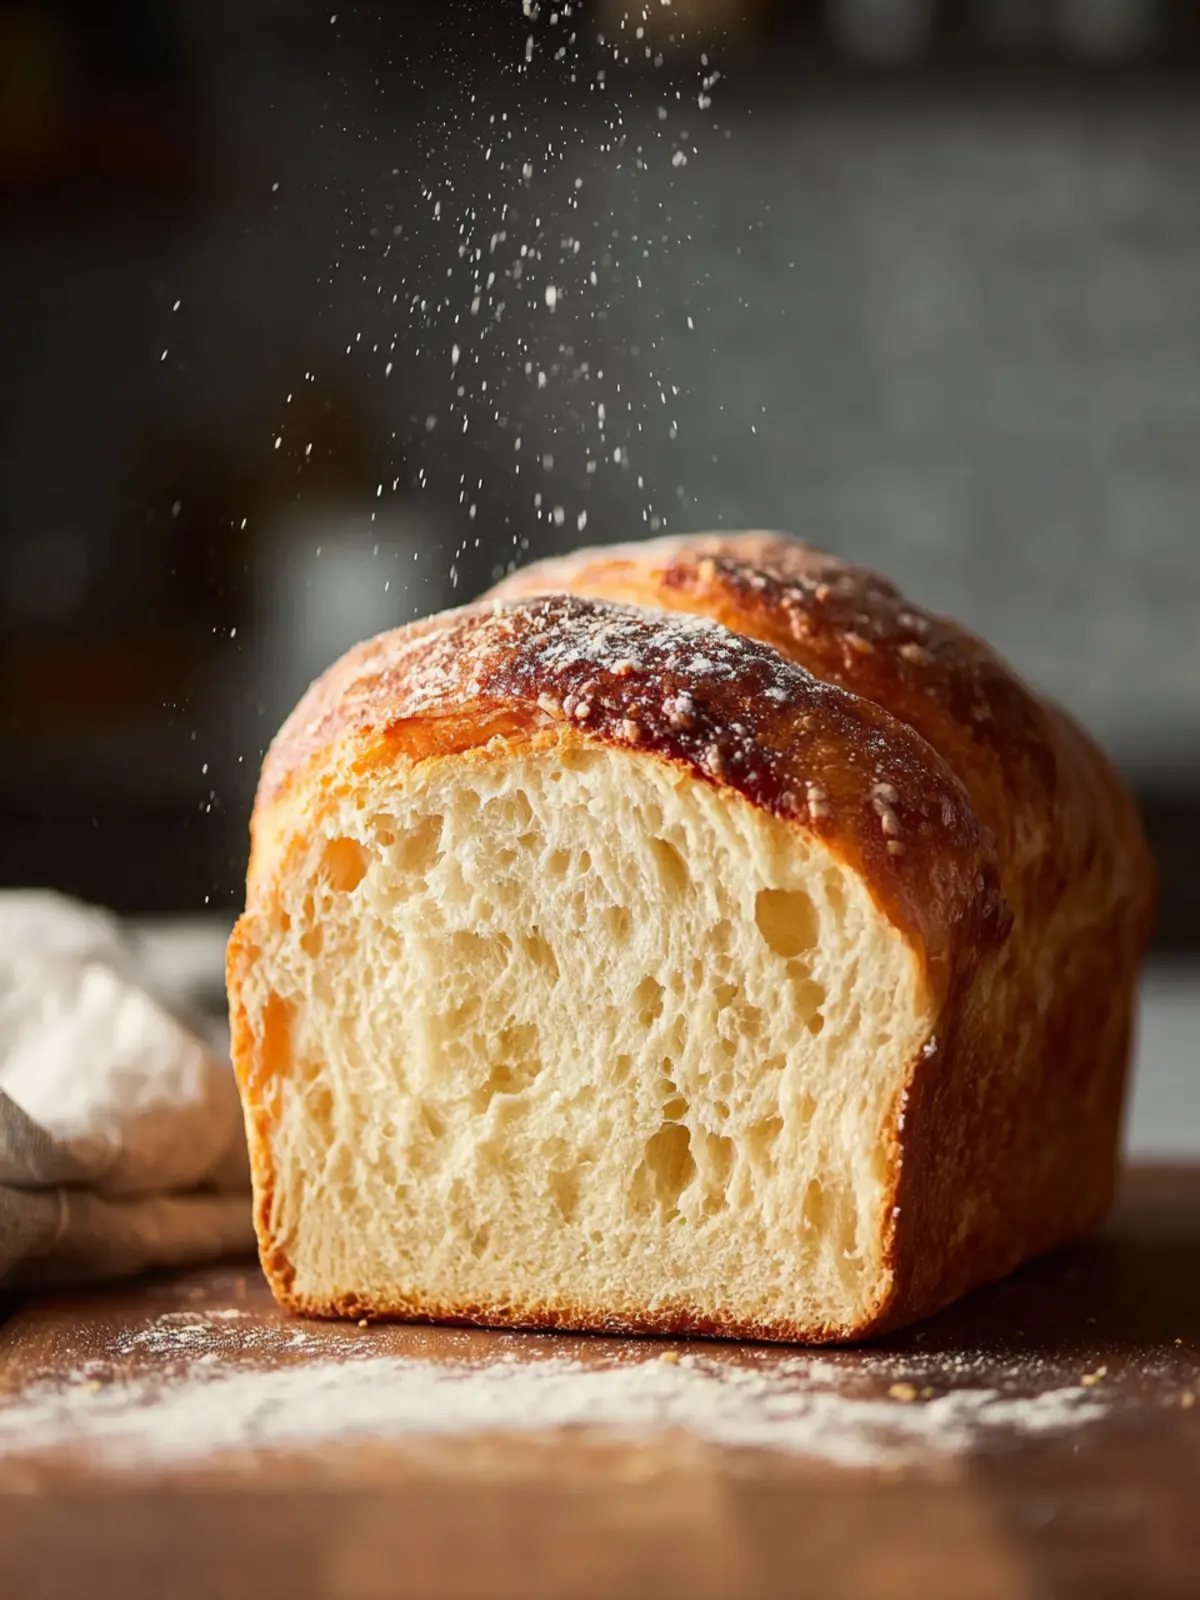
Creating a KitchenAid Bread Recipe is more than just mixing flour, water, and yeast; it’s an invitation to a warm, nurturing experience that transforms your kitchen into a haven of aromas and satisfaction. Imagine this: the moment you pull apart the crusty exterior of a freshly baked loaf and inhale the rich, comforting scent—it’s no wonder that homemade bread holds such a special place in our hearts and homes.
What makes homemade bread so rewarding?
The reward of baking bread goes beyond just producing something delicious. Here are a few reasons why making your own loaf is so fulfilling:
-
Connection to Tradition: Bread has been a staple in diets across cultures for thousands of years. By baking your own, you tap into a tradition that has nourished families and communities for generations.
-
Creativity in the Kitchen: Each loaf is a canvas for your creativity. Perhaps you’ll experiment with adding herbs, cheese, or even dried fruits. The possibilities are as endless as your imagination!
-
Healthier Choices: When you bake at home, you control every ingredient. This means no preservatives or artificial flavors—just wholesome goodness. Plus, the satisfaction of knowing you’re providing something homemade is a huge bonus.
-
Building Skills: As you gain confidence with each recipe, you also develop essential baking skills. Mastering the art of kneading dough, monitoring fermentation, and achieving that perfect crust is immensely satisfying.
-
Community and Sharing: Homemade bread doesn’t just fill your tummy; it fills your spirit. There’s something heartwarming about sharing freshly baked goods with neighbors, friends, or family. Imagine their smiles when they take that first bite!
In a fast-paced world where ready-made options are everywhere, taking the time to create something from scratch invites a sense of mindfulness and pride. So, dust off your KitchenAid mixer and get ready to embark on a delightful baking adventure with this KitchenAid Bread Recipe! Your kitchen—and your tastebuds—will thank you.
Key Ingredients for KitchenAid Bread Recipe
Creating a KitchenAid Bread Recipe at home is not just about following instructions; it’s about finding joy in each ingredient that brings your loaf to life. Each component has its own story and role to play, making the baking process as delightful as the aroma that fills your kitchen.
Flour
I rely on all-purpose flour for this recipe, as it strikes the perfect balance between chewiness and tenderness. If you’re feeling adventurous, using bread flour can yield a slightly higher rise and give a heartier texture.
Yeast
Active dry yeast is essential for that glorious rise. It’s like a little magic worker that transforms simple dough into airy goodness. Don’t forget to activate it with warm water and a touch of sugar before mixing!
Sugar
I use granulated sugar to add just the right amount of sweetness and to feed the yeast during fermentation. It’s a subtle touch that enhances flavor without overwhelming the bread.
Salt
A pinch of salt is crucial—it amplifies the overall flavor and strengthens the gluten structure. Skimping on salt can leave your bread tasting flat, so make sure to measure accurately.
Water
Warm water is the secret to achieving the ideal dough consistency. It brings the ingredients together, allowing for a smooth and elastic dough that can rise beautifully.
Oil
I add a splash of olive oil to enrich the dough. It gives the bread a lovely flavor and creates a moist crumb. You can also substitute with melted butter for a richer taste.
With these ingredients in hand, you’re well on your way to crafting your very own KitchenAid Bread Recipe. Each element works in harmony, culminating in a loaf that’s bound to impress family and friends. Happy baking!
Why You’ll Love This KitchenAid Bread Recipe
There’s something magical about watching a KitchenAid mixer knead dough into perfect submission. This KitchenAid Bread Recipe transforms simple ingredients into a warm, inviting loaf that fills your home with a rich, hearty aroma. Baking bread can feel daunting, but with this recipe, you’ll find it’s more about creating a labor of love than wrestling with ingredients.
Effortless Mixing and Kneading
Using a KitchenAid mixer makes this recipe incredibly hands-free. The stand mixer integrates the ingredients thoroughly and kneads the dough, freeing you to focus on other tasks or even just relax with a cup of coffee. You’ll easily whip up your bread without the mess and effort traditionally associated with baking.
Fresh Ingredients, Bold Flavor
This KitchenAid Bread Recipe uses simple, fresh ingredients and highlights their natural flavors. Imagine slicing into a golden crust and discovering a soft, fluffy interior that’s perfect for sandwiches, toasting, or simply enjoying with butter. The approach honors each ingredient, allowing you to experiment with different add-ins like herbs or cheese, making every loaf uniquely yours.
Perfect for Beginners and Pros Alike
Whether you’re a seasoned baker or just starting, this recipe caters to all. It provides a straightforward, step-by-step process that takes the guesswork out of bread-making. Plus, the satisfaction of pulling a freshly baked loaf from the oven is an experience everyone should try at least once!
Embarking on this baking journey not only enriches your culinary skills but also offers delicious rewards. There’s no better way to impress friends or cozy up at home than with freshly baked bread that you made all on your own.
Cooking Tips and Notes for KitchenAid Bread Recipe
When crafting your KitchenAid Bread Recipe, precision can make all the difference between a loaf that rises beautifully and one that flops. Having baked many batches myself, I’ve gathered some key tips to ensure success in your bread-making journey.
Measure Ingredients Accurately
The foundation of a great bread lies in the right proportions. I recommend using a kitchen scale to weigh flour and water, as this method is often more precise than volume measurements. A common mistake is to pack flour into a cup, which can lead to overly dense bread.
Use Fresh Ingredients
Check your yeast’s freshness before starting. Active dry yeast should be bubbly and fragrant after blooming in warm water. If it doesn’t foam, it might be time to replace it!
Knead Thoroughly
If you’re using a KitchenAid mixer, don’t skimp on the kneading time! Allow the dough to mix on medium speed for about 8-10 minutes. This will develop gluten and give your bread its chewy texture.
Watch the Rise
While waiting for the dough to rise, find a warm, draft-free environment. A simple trick I use is to preheat the oven for a couple of minutes and then turn it off, letting the dough rise inside.
Baking Tip
Preheat your oven thoroughly and consider placing a pan of water at the bottom to create steam. This helps achieve a perfect crust while keeping the interior soft.
Happy baking with your KitchenAid Bread Recipe! Enjoy the delightful aromas that will fill your kitchen as your loaf bakes.
Serving Suggestions for KitchenAid Bread Recipe
The KitchenAid Bread Recipe creates a delightful loaf that serves as a delicious base for various serving suggestions. Imagine pulling a warm, freshly baked loaf from your oven, its golden crust crackling just slightly as you slice into it. Here are a few ways to elevate your bread experience.
Classic Toast with a Twist
Start your day with a slice of your homemade bread toasted to perfection. Spread it with creamy butter and a drizzle of your favorite honey. If you prefer something savory, try topping it with smashed avocado, a sprinkle of sea salt, and a squeeze of lime for a refreshing breakfast.
Sandwich Sensation
Use your KitchenAid Bread Recipe loaf to create the ultimate sandwiches. Whether it’s a classic turkey and cheese or a veggie delight with hummus and roasted veggies, this bread adds a hearty touch. The soft crumb and crusty exterior provide the perfect balance of flavor and texture.
Bread Bowl Bonanza
Transform your loaf into a showstopper by making a bread bowl. Hollow out a round piece of bread and fill it with your favorite soup or chili. This not only makes for a stunning presentation but also gives you a satisfying edible bowl to enjoy.
Future Bakes
If your KitchenAid Bread Recipe yields extra loaves, consider freezing them. Bread can be stored in the freezer for up to three months. Just slice first, and then wrap tightly in plastic wrap and foil. When you’re ready, pop a slice in the toaster or microwave for a quick, warm treat.
By exploring these serving suggestions, you’re bound to enjoy your KitchenAid Bread Recipe even more, creating meals that warm both the heart and the home.
Time Breakdown for KitchenAid Bread Recipe
Baking a loaf of bread using a KitchenAid Bread Recipe not only infuses your kitchen with delightful aromas but also offers a satisfying experience of home baking. Here’s how the timing pans out for this delicious endeavor:
Preparation Time
In just 15 minutes, you can gather your ingredients, mix the dough, and set your mixer to work.
Rise Time
Allow the dough to rise for about 1 hour. This is where the magic happens as the yeast works its wonders, making your bread fluffy and light.
Baking Time
Baking the bread takes around 30–35 minutes. During this time, you’ll experience the comforting scent of freshly baked bread wafting through the air.
Total Time
In total, you’re looking at approximately 1 hour and 50 minutes from start to finish. It’s a small time investment for a product that brings so much joy to the table!
Nutritional Facts for KitchenAid Bread Recipe
Understanding the nutritional facts for your homemade creations can be both enlightening and empowering. With the KitchenAid Bread Recipe, you’ll not only enjoy the process of baking but also appreciate the wholesome benefits of each slice. Let’s break down the key nutritional facts of this delicious bread!
Calories
Each serving of this nourishing bread contains approximately 150 calories. It’s a fantastic base for many meals or a satisfying snack on its own.
Carbohydrates
With around 30 grams of carbohydrates per serving, this bread provides a great source of energy. Perfect for those busy days when you need a boost!
Protein
You’ll find about 5 grams of protein in every slice, which contributes to muscle repair and keeps you feeling full longer.
Fat
This bread is low in fat, with roughly 2 grams per serving. It’s an excellent choice for a lighter meal option without sacrificing flavor.
So next time you whip up the KitchenAid Bread Recipe, you can savor each bite knowing it’s as good for you as it is delicious!
FAQs about KitchenAid Bread Recipe
When you embark on the fabulous journey of baking with the KitchenAid Bread Recipe, it’s natural to have questions. We want to help you troubleshoot any issues and ensure your homemade bread is a flavorful delight every time. Here are some commonly asked questions that might help you along the way.
How can I troubleshoot my bread if it doesn’t rise?
If your KitchenAid Bread Recipe dough hasn’t risen, don’t lose hope. Here are a few tips for troubleshooting:
- Check Your Yeast: Ensure that your yeast is fresh. If it’s expired or stored improperly, it won’t activate. A quick test is to mix it with warm water and a bit of sugar; if it bubbles, you’re good to go!
- Temperature Matters: Dough rises best in a warm, draft-free environment. If it’s too cold, consider placing it in a slightly warmed oven (turned off) or near a warm stove.
- Kneading Technique: If your dough feels too dense, it may not have been kneaded enough. Make sure you’re following the recommended mixing time in your recipe to develop the gluten properly.
Can I make this bread without a KitchenAid mixer?
Absolutely! While the KitchenAid mixer simplifies the process, you can still achieve great results by mixing and kneading the dough by hand. Use a sturdy mixing bowl and a wooden spoon to combine the ingredients, then knead on a floured surface for about 8-10 minutes until the dough is smooth and elastic.
What’s the best way to store homemade bread?
Storing your homemade bread properly is key to keeping it fresh. Here are some tips:
- Cool Completely: Let the bread cool completely before storing to avoid sogginess.
- Wrap It Up: Use plastic wrap or an airtight container to keep moisture in, preventing it from going stale.
- Freeze for Longevity: If you want to keep bread for an extended period, slice it and freeze it in a resealable bag. Just toast or thaw slices as needed for fresh enjoyment later.
With these tips in hand, your adventures with the KitchenAid Bread Recipe should be smoother and more rewarding! Happy baking!
Conclusion on KitchenAid Bread Recipe
Making your own bread using a KitchenAid Bread Recipe can transform your baking routine into an enjoyable culinary journey. The excellent rise and texture achieved with a stand mixer is unmatched, allowing busy professionals to enjoy fresh, homemade bread with minimal effort.
As you savor the aroma wafting from your oven, consider experimenting with different ingredients or flavors to customize your loaf. Whether sharing with friends at a gathering or enjoying it solo, fresh bread is both comforting and rewarding, making it a staple worth mastering. Your KitchenAid is your best friend in this delicious adventure!
Print
Homemade Bread
- Total Time: 1 hour 50 minutes
- Yield: 2 loaves 1x
- Diet: Vegetarian
Description
Delicious homemade bread recipe that is perfect for sandwiches or toast.
Ingredients
Scale
- ½ Cup Milk
- 1½ Cup warm water
- 2 Tbsp Salt
- 3 Tbsp Sugar
- 3 Tbsp Butter
- 5 Cups all purpose flour
- 2 packets of active dry yeast
Instructions
- In a small saucepan, combine milk, sugar, salt, and butter. Heat gently, stirring until the butter melts and the sugar dissolves.
- If using active dry yeast, dissolve it in warm water in a pre-warmed mixer bowl and let it sit for 10 minutes.
- Add the lukewarm milk mixture and the yeast mixture to 4 ½ cups of flour.
- Using the dough hook attachment, mix on speed 2 for one minute.
- Continue mixing on speed 2, gradually adding the remaining flour (½ cup at a time), until the dough clings to the hook and the bowl sides are clean.
- Knead for an additional 4 minutes on speed 2 until the dough is smooth and elastic.
- Place the dough in a greased bowl, turning it to coat the top.
- Cover and let rise in a warm, draft-free space until it doubles in size (about an hour).
- Punch the dough down and divide it into two portions.
- Shape each into a loaf and place them in greased 8 ½ x 4 ½ x 2 ½ loaf pans.
- Cover and let rise again until doubled, for about an hour.
- Bake at 400°F for 30 minutes, then remove the loaves from the pans and cool on wire racks.
Notes
- This bread is great for sandwiches or toasted with butter.
- Experiment with adding herbs or spices for different flavors.
- Prep Time: 20 minutes
- Cook Time: 30 minutes
- Category: Baking
- Method: Baking
- Cuisine: American
Nutrition
- Serving Size: 1 slice
- Calories: 150
- Sugar: 1g
- Sodium: 150mg
- Fat: 3g
- Saturated Fat: 1g
- Unsaturated Fat: 2g
- Trans Fat: 0g
- Carbohydrates: 28g
- Fiber: 1g
- Protein: 4g
- Cholesterol: 5mg