Follow Me On Social Media!
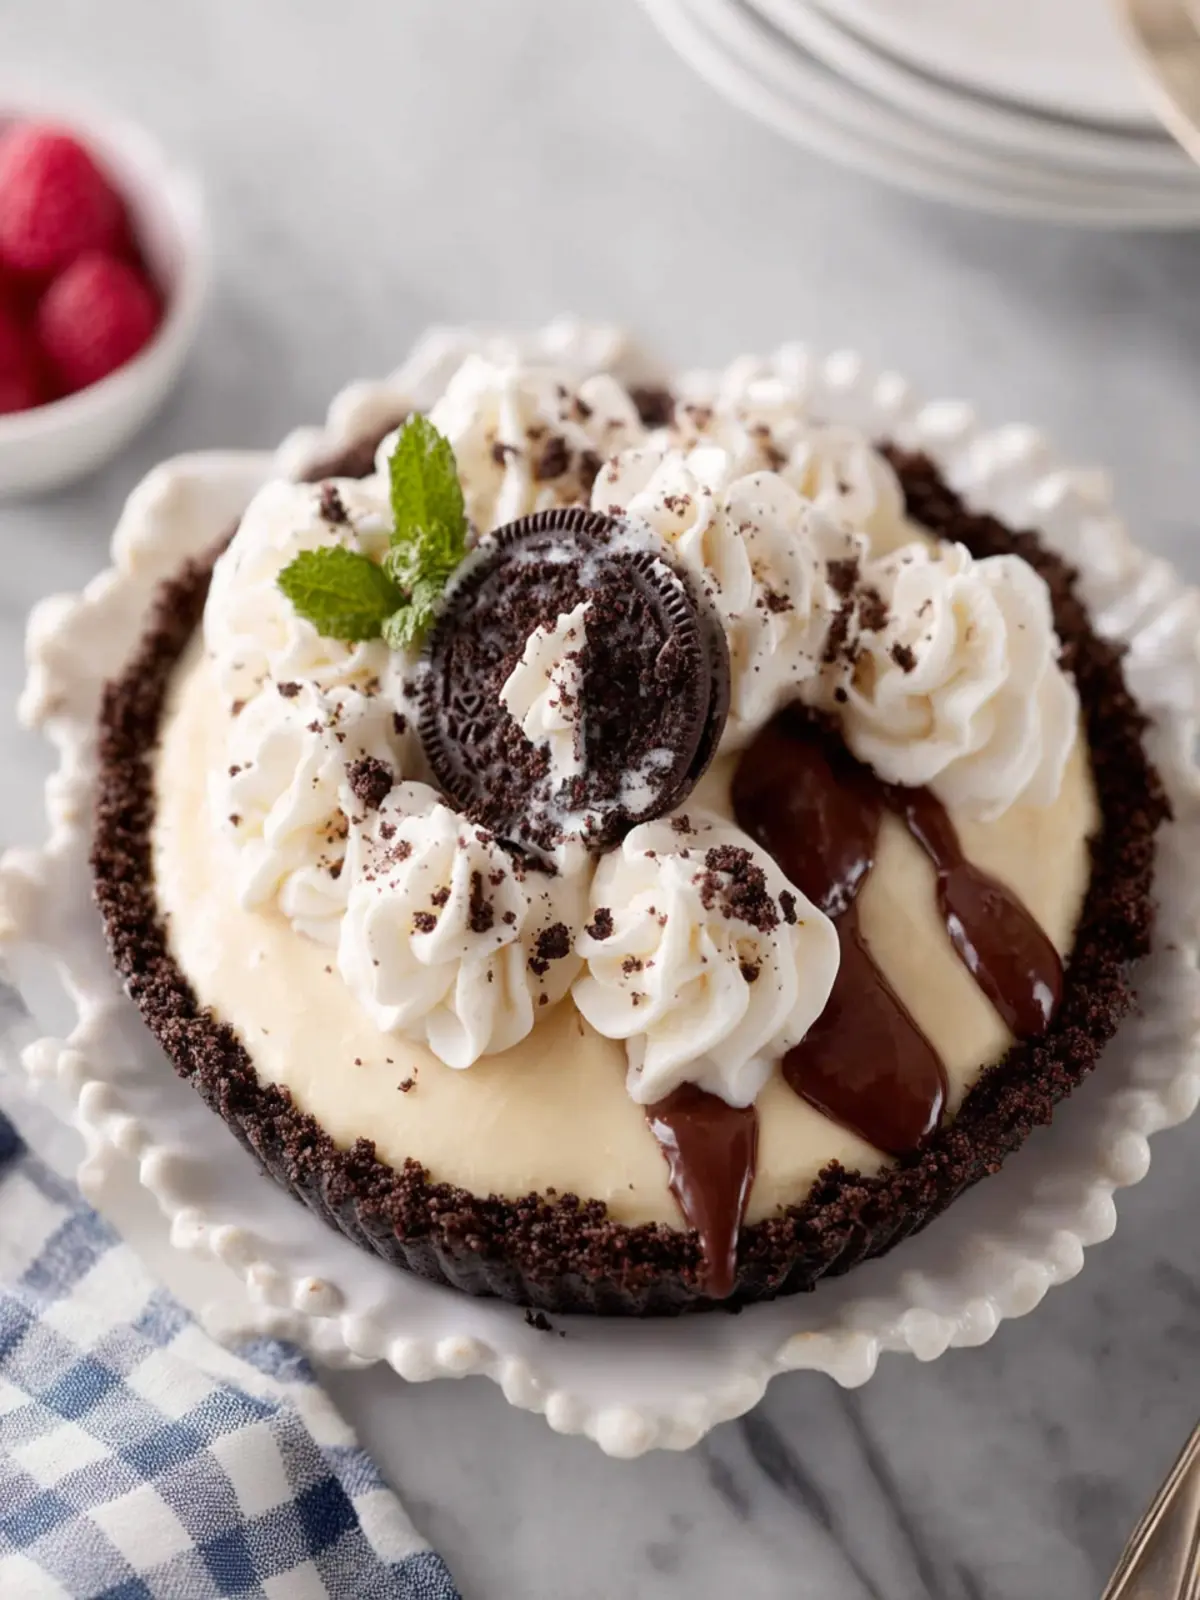
Oreo Pie: The Indulgent Dessert You’ll Crave Forever
Introduction to Oreo Pie
There’s something undeniably comforting about diving into a sweet slice of Oreo pie, reminiscent of lazy Sunday afternoons or cozy family gatherings. This dessert isn’t just a dish; it’s an experience that transports you back to simpler times, bringing with it a flood of nostalgic memories. Perhaps it was that special occasion when a trusted family member whipped it up, filling the kitchen with the rich aroma of chocolate and cream. Now, you can recreate that joy and share it with your own loved ones.
The beauty of a homemade Oreo pie lies not just in its delightful taste but also in the memories each bite can invoke. Even the process of making it can be a fun activity to enjoy with friends or family. Imagine gathering your closest pals, laughing as you crush oreos together and negotiate the perfect ratio for the filling. And let’s not forget how it can become a blank canvas for creativity—feel free to personalize it with your favorite toppings or twists!
As we dive into this delightful recipe, you’ll find that making an Oreo pie is surprisingly simple yet fulfilling. It’s made with a few key ingredients that are easy to find and don’t require advanced baking skills. Plus, it’s the kind of dessert that’s sure to impress your guests, sparking conversations around how you could whip up something so delicious with comparatively little effort.
So, whether you’re looking to recreate that cherished dessert of your childhood or simply want to impress at your next gathering, this Oreo pie is the perfect solution. Ready to embark on this sweet journey? Let’s take a look at the ingredients and get started on crafting this delightful treat that’s sure to leave everyone wanting more.
The Nostalgia of Homemade Desserts
Homemade desserts like Oreo pie evoke warm feelings of nostalgia, reminding us of sweet family moments and celebrations. They bridge generations and create lasting memories in the kitchen. There’s just something about a homemade treat—it’s filled with love, often passed down through family traditions, and most importantly, it makes life just a little bit sweeter.
Key Ingredients for Oreo Pie
Oreo Pie brings back memories of sweet afternoons spent with friends, sharing a slice of deliciousness that’s both nostalgic and satisfying. Each ingredient plays a pivotal role in creating this beloved dessert, making it a favorite in many households.
-
Oreo Cookies: The star of the show! I rely on classic Oreos for the crust and topping—crushing them creates a rich, chocolatey base that makes every bite delightful. If you prefer something different, consider using other varieties like peanut butter or mint Oreos for a unique twist.
-
Butter: Butter adds the necessary fat to bind the crushed Oreos together, ensuring a tasty, sturdy crust. Melted butter works best, creating a texture that’s both firm and indulgent.
-
Cream Cheese: For that smooth and creamy filling, I use softened cream cheese. It provides a rich base that complements the sweetness of the Oreos while also offering a slight tang.
-
Whipped Topping: To achieve the light and airy texture we love in Oreo Pie, whipped topping is essential. It helps lighten the cream cheese mixture, making it incredibly smooth and delicious.
These key ingredients combine to create a pie that delights both the eye and the palate, making it an absolute must-try!
Why You’ll Love This Oreo Pie
Imagine hosting friends for a laid-back dessert night when you surprise them with an Oreo Pie that’s not only stunning but incredibly delicious. This recipe takes the beloved flavors of the classic Oreo cookie and transforms them into a smooth, creamy pie that will have everyone asking for seconds. Whether you’re celebrating a special occasion or just craving something sweet, this pie is the perfect answer to your dessert dreams.
A Delightful Combination
-
Chocolate and Creamy Goodness: The combination of crushed Oreo cookies and rich cream filling offers a delightful balance of textures and flavors. Every bite is indulgent, making it a crowd favorite.
-
Simple to Make: You’ll love how easy this Oreo Pie is to prepare. It requires minimal effort, meaning you can spend more time enjoying your company rather than slaving away in the kitchen.
-
Perfect for Any Occasion: Whether it’s a birthday party, a holiday gathering, or just a cozy night in, this pie fits every scenario, appealing to both kids and adults alike.
-
Guilt-Free Indulgence: For those keeping an eye on their dietary choices, this recipe can be easily customized with low-fat ingredients without sacrificing flavor.
Embrace the joy of dessert with this Oreo Pie, and experience how it turns any ordinary day into something extraordinary.
Variations on Oreo Pie
Oreo Pie is a dream dessert that invites creativity through various delicious adaptations. Each variation adds a unique twist, making sure that every bite offers a new and exciting flavor experience.
Mint Chocolate Oreo Pie
This delectable take combines crushed Oreos with mint extract, giving your pie a refreshing twist. Top with whipped cream and drape a layer of thin mint chocolate for a dessert that tastes like a cool breeze on a summer evening.
Peanut Butter Cup Oreo Pie
Transform your Oreo Pie into a peanut butter lover’s paradise by folding in creamy peanut butter into the filling. Layer chopped peanut butter cups on top before adding the whipped cream for an indulgent finish.
Coconut Cream Oreo Pie
Elevate your Oreo Pie with a tropical flair by mixing in coconut cream and folding in shredded coconut. A sprinkle of toasted coconut on top will not only enhance the flavor but also create a gorgeous visual appeal.
Seasonal Variants
Don’t shy away from celebrating the seasons! During the fall, add a layer of pumpkin puree and spices for a Pumpkin Spice Oreo Pie. Similarly, in winter, stir in peppermint bits for a festive touch that captures the holiday spirit.
Explore these variations and delight in how Oreo Pie can become a canvas for your culinary creativity!
Cooking Tips and Notes for Oreo Pie
Crafting the perfect Oreo Pie is both an art and a delightful science. It’s not just about throwing ingredients together; it’s about finding that balance that enhances the flavors. Here, I’ll share some tips that will elevate your pie game.
Choose the Right Oreos
Using the classic Oreo cookie is a must for this recipe, but have you ever experimented with different flavors? From double-stuffed to mint or even seasonal varieties, each type brings a unique twist to the Oreo Pie. Just remember, the original flavor will give you that nostalgic taste.
Crust Consistency Matters
When making the crust, it’s crucial to achieve the right texture. Crush the Oreos into fine crumbs, then mix them with melted butter. If the mixture feels too dry, add a little more butter—this will ensure your crust holds together well and offers that delicious buttery flavor.
Chill Time Is Essential
Don’t rush the chilling process. Allowing the Oreo Pie to set for at least four hours (or overnight if possible) not only improves the texture but intensifies the flavors. Trust me; the wait is worth it!
Serving Suggestions
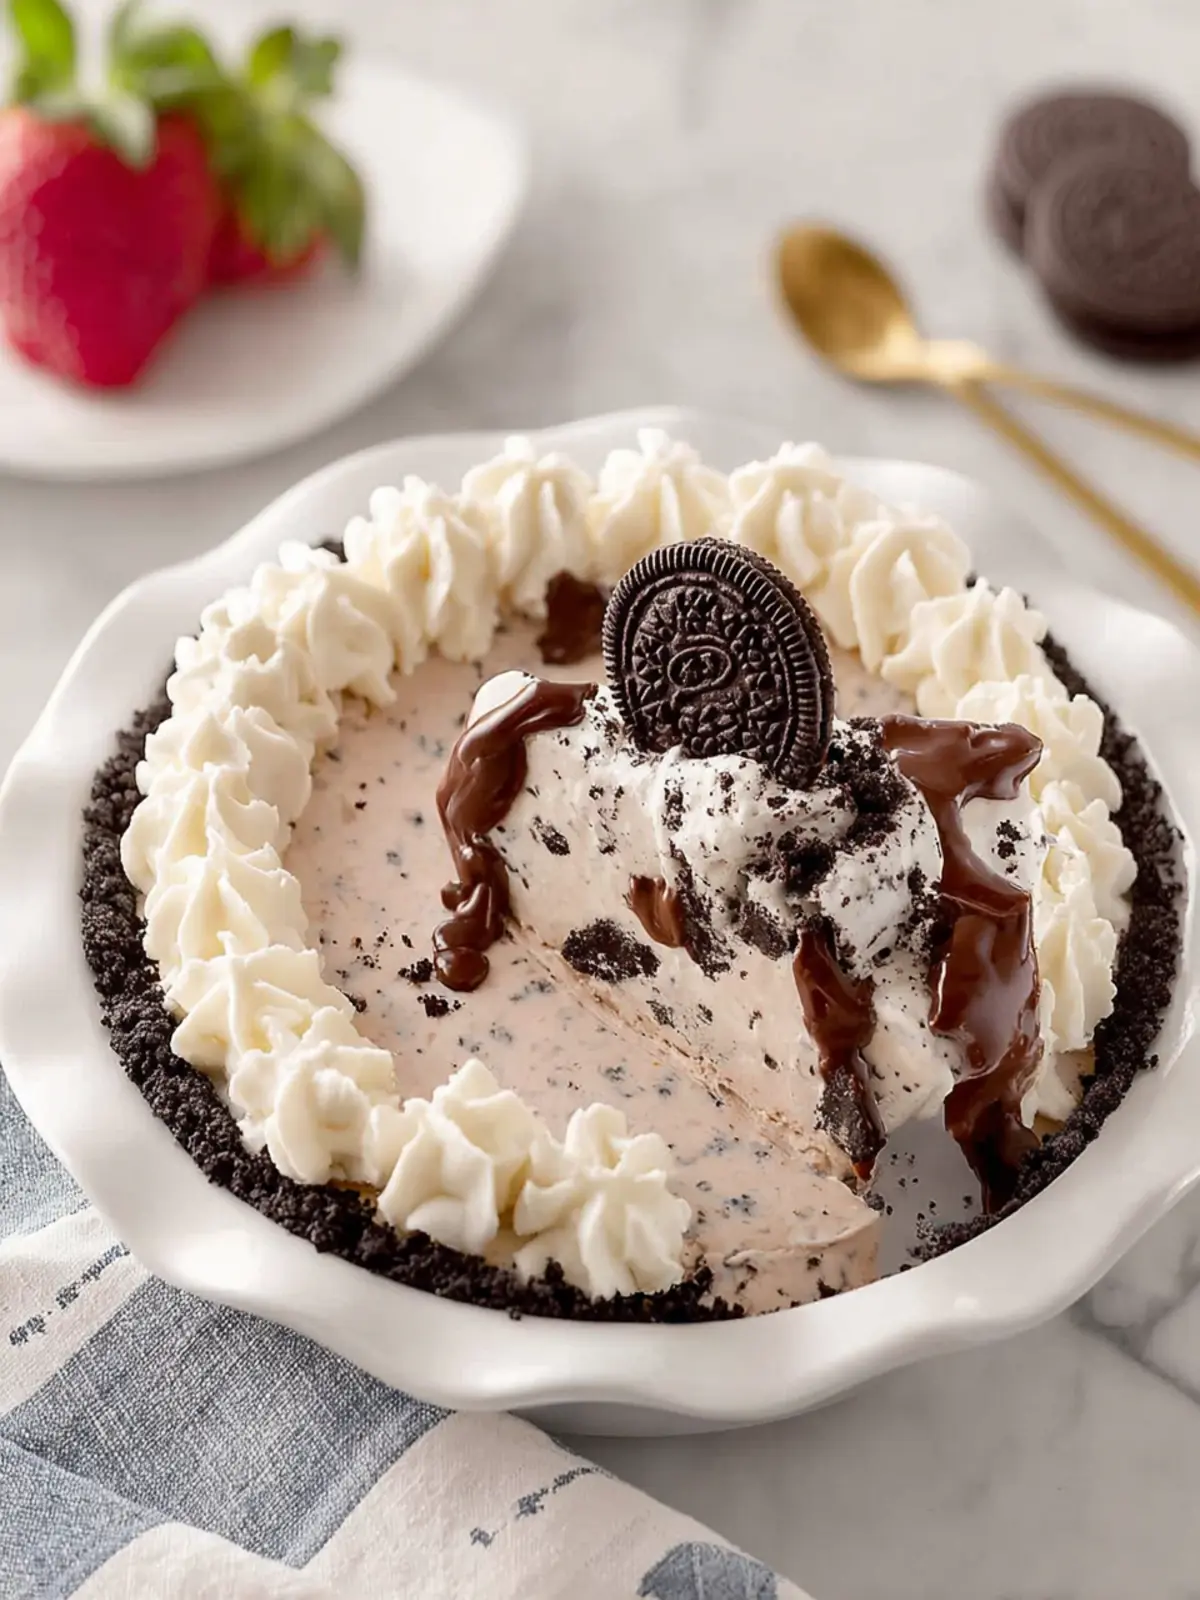
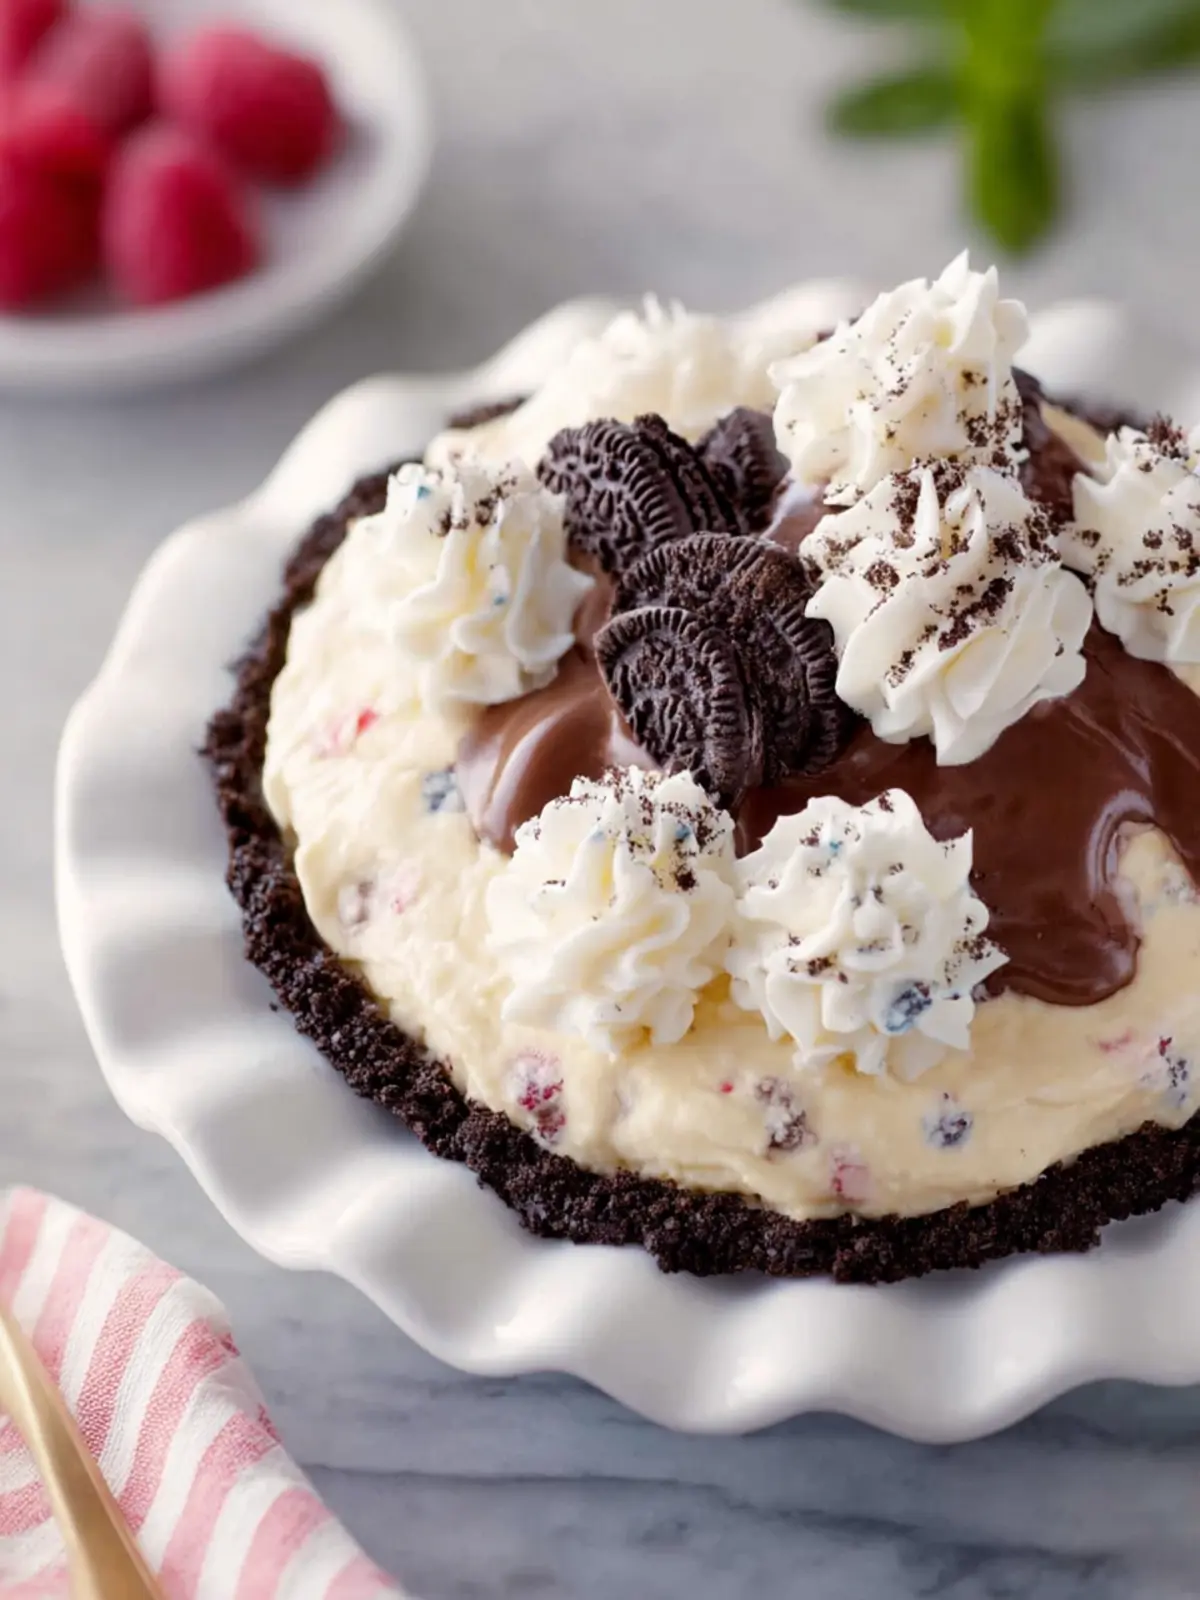
For an extra touch, serve your pie with a dollop of whipped cream and a sprinkle of crushed Oreos on top. This will not only enhance the presentation but also add an appealing crunch.
Storage Tips
If you have any leftovers (which might be a challenge!), store your Oreo Pie in an airtight container in the fridge. It should keep for up to five days, making it perfect for enjoying all week long.
Serving Suggestions for Oreo Pie
The delightful Oreo Pie is not just a dessert; it’s an experience. Picture this: a warm evening gathering with friends, and there’s nothing but laughter and this creamy, chocolatey pie at the center of the table. To elevate that experience, here are some serving suggestions that make your Oreo Pie shine even brighter.
Toppings
- Whipped Cream: A dollop of freshly whipped cream adds a light, fluffy texture to each slice, balancing the pie’s richness perfectly.
- Chocolate Drizzle: Drizzling melted chocolate over the top gives a gourmet touch and extra indulgence that chocolate lovers will adore.
- Crushed Oreos: Sprinkle some crushed Oreos on top for added crunch and a visual appeal that lets everyone know what they’re about to enjoy.
Pairing Suggestions
- Coffee or Milk: Serving your Oreo Pie with a chilled glass of milk or a hot cup of coffee enhances the flavors and makes it a comforting treat after a meal.
- Fresh Berries: A side of raspberries or strawberries adds a refreshing burst of freshness that complements the rich flavors of the pie.
Experiment with these ideas, and you’ll create unforgettable moments with your Oreo Pie.
Time Breakdown for Oreo Pie
Creating this delightful Oreo Pie is not only an indulgent treat but also a fun experience that fits perfectly into a busy week. Knowing how your time breaks down can help you manage your schedule effectively and reap the delicious rewards!
Preparation time
Getting started with your Oreo Pie takes about 15 minutes. You’ll blend and mix the ingredients which is quick and straightforward.
Freezing time
Once you’ve prepped your pie, it needs to chill in the freezer for about 4 hours. This step is crucial for achieving that perfect sliceable texture.
Total time
In total, you’re looking at roughly 4 hours and 15 minutes from start to finish. So, plan ahead and let this rich pie sit while you savor some downtime!
Nutritional Facts for Oreo Pie
When diving into the delicious world of Oreo Pie, it’s hard not to be mindful of the delightful flavors packed into each slice. Understanding the nutritional content can enhance your enjoyment, allowing you to savor every bite with confidence.
Calories
Each serving of Oreo Pie clocks in at approximately 250 calories. This makes it a delightful treat without completely derailing your dietary goals.
Protein
This sweet slice offers about 4 grams of protein per serving. While it’s not a protein powerhouse, that little boost can help balance your dessert experience.
Sugar
With around 18 grams of sugar, the Oreo Pie delivers a sugary punch that satisfies your sweet tooth. Be sure to enjoy it in moderation to keep your sugar intake in check.
Understanding these nutritional facts can turn dessert into a guilt-free pleasure. Now go ahead and indulge!
FAQs About Oreo Pie
Oreo Pie is one of those delightful desserts that brings smiles to faces and sweet nostalgia to our hearts. Whether you’re whipping up this treat for a party or just because, you might have some questions about it. Let’s dive into some common queries to help you create the perfect pie!
Can I make Oreo Pie ahead of time?
Absolutely! One of the best things about Oreo Pie is that it can be made in advance. In fact, allowing it to chill in the refrigerator for at least four hours (or even overnight) enhances its flavor and texture. This means you can prepare it the day before an event, giving you more time to enjoy with friends and family.
How do I store Oreo Pie?
Storing your Oreo Pie is simple. Once it’s set, cover it with plastic wrap or aluminum foil to keep it fresh. It can be stored in the refrigerator for up to one week. If you’re lucky enough to have leftovers, ensure it’s sealed properly to maintain its deliciousness.
What are some ingredient substitutions for this recipe?
If you’re looking to tweak your Oreo Pie, there are plenty of substitutions you can consider:
- Heavier Cream: If you can’t find heavy cream, you can use whipped topping as a lighter alternative, although it may change the texture slightly.
- Gluten-Free Cookies: To make a gluten-free version, swap regular Oreos for gluten-free Oreo cookies.
- Cream Cheese Healthier Options: For a lighter cream cheese option, you can try reduced-fat cream cheese.
Feel free to get creative while keeping those classic flavors intact! The best part of baking is experimenting and making a recipe your own.
Conclusion on Oreo Pie
A slice of Oreo Pie captures the essence of indulgence. It’s not just a dessert; it’s a sweet memory waiting to happen. Whether you’re sharing it with friends at a cozy gathering or enjoying a solo treat after a long day, the creamy richness paired with the crunchy cookie crust strikes the perfect balance. As you savor each bite, don’t forget how easy this pie is to whip up, making it perfect for both novice bakers and seasoned pros alike. Let this delightful treat remind you that life is sweeter with simple joys—and a generous dollop of whipped cream on top!
Print
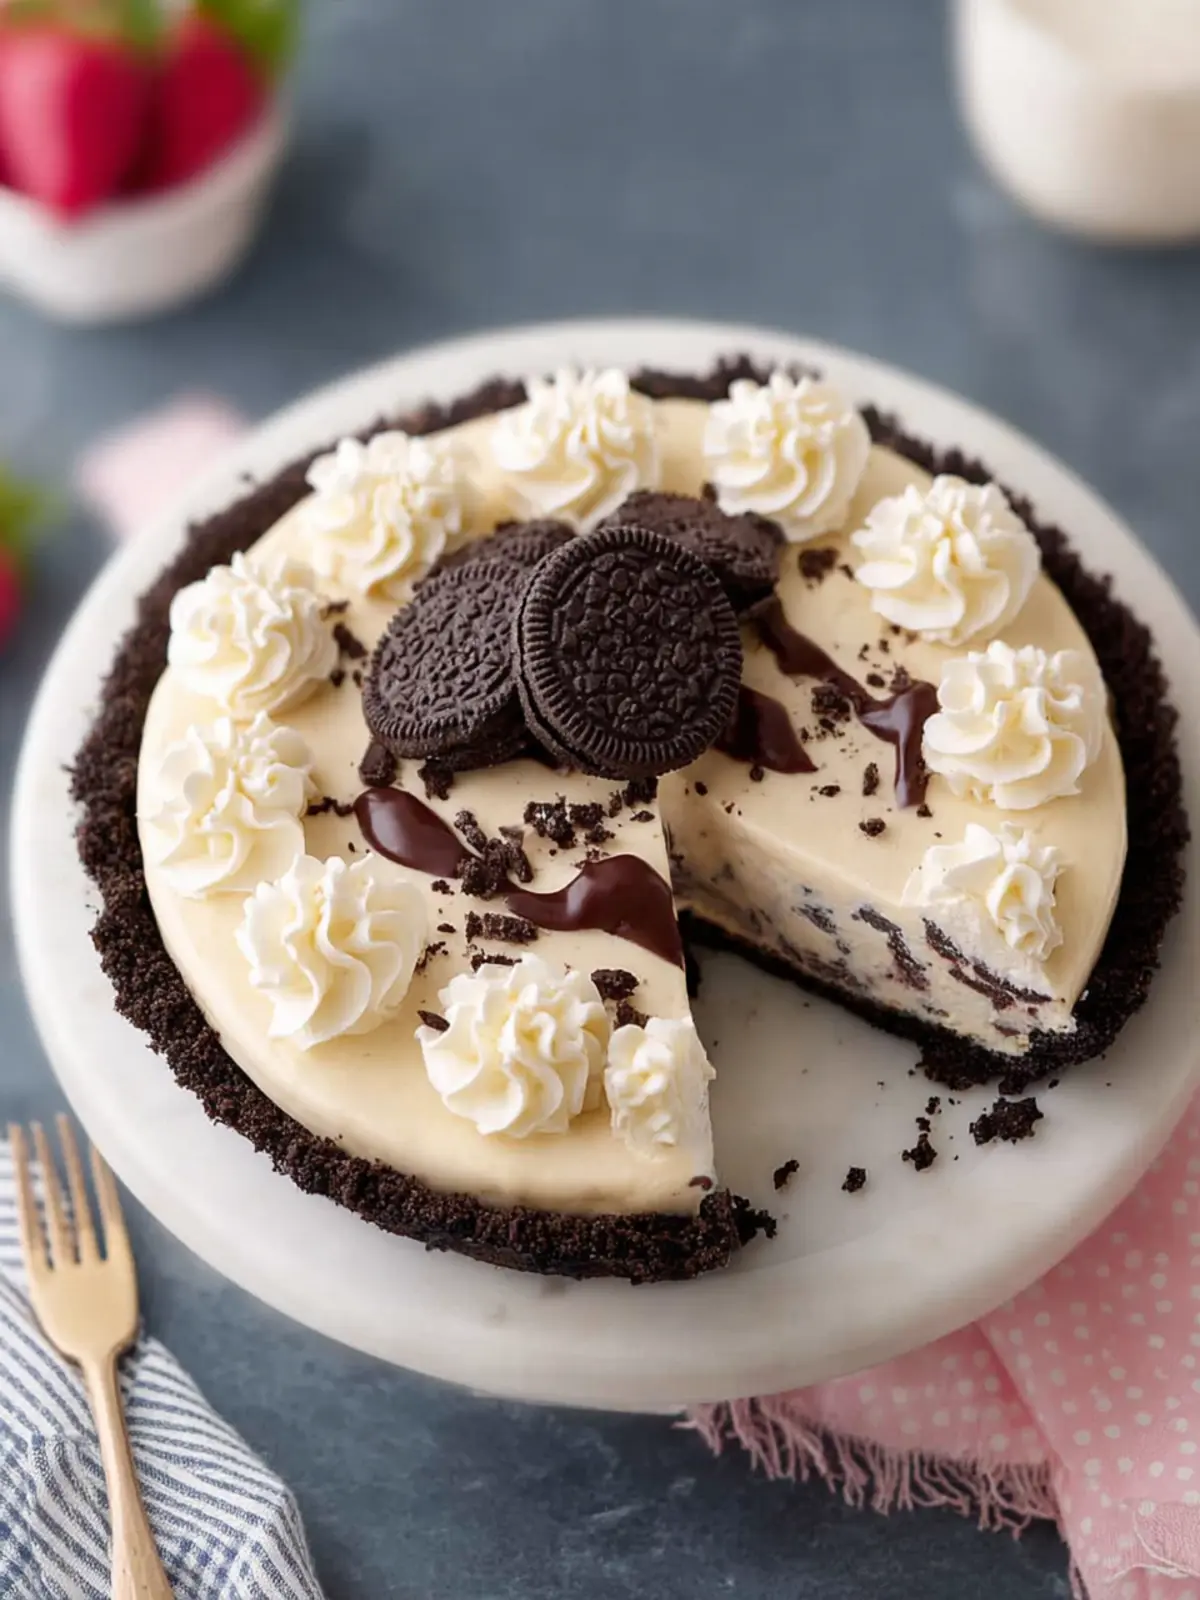
No-Bake Oreo Cheesecake
- Total Time: 6 hours 30 minutes
- Yield: 8 servings 1x
Description
A delicious no-bake Oreo cheesecake made with crushed Oreos, cream cheese, and whipped cream.
Ingredients
Scale
- 24 Oreos
- ¼ cup unsalted butter (melted)
- 1 cup heavy whipping cream
- 1 (8-ounce) block cream cheese (room temperature)
- ¾ cup confectioners’ sugar
- 1½ teaspoons vanilla extract
- 20 Oreos (chopped, plus more for garnish)
- Whipped cream (for serving)
Instructions
- Lightly spray a 9-inch pie pan with cooking spray.
- In the bowl of a food processor, process the Oreos until finely ground, about 30-45 seconds. Place in a medium bowl, and stir in the melted butter until well combined. Press the mixture into the bottom and sides of the pie pan. Freeze while preparing filling, or at least 30 minutes and up to 3 days.
- In a large bowl using a handheld electric mixer, beat the cream on medium-high speed until stiff peaks form, about 2 minutes.
- In another large bowl, beat the cream cheese on medium-high speed until smooth and fluffy, about 2 minutes. (No need to clean beaters between the cream and cream cheese.) Add the confectioners’ sugar and vanilla, beating until smooth, about 1 minute.
- Gently fold in the whipped cream and chopped Oreos until combined. Spoon the filling into the frozen crust, spreading it into an even layer.
- Loosely cover and refrigerate until set, at least 6 hours or up to 2 days.
- When ready to serve, top with additional whipped cream and Oreos, if desired.
Notes
- This cheesecake can be made up to 2 days in advance.
- For a firmer texture, freeze the cheesecake for a short time before serving.
- Prep Time: 30 minutes
- Category: Dessert
- Method: No-Bake
- Cuisine: American
Nutrition
- Serving Size: 1 slice
- Calories: 350
- Sugar: 20g
- Sodium: 150mg
- Fat: 25g
- Saturated Fat: 15g
- Carbohydrates: 30g
- Fiber: 1g
- Protein: 4g
- Cholesterol: 45mg